Disclosure: This article contains affiliate links. If you purchase through these links, we may earn a commission at no additional cost to you.
Verdict: Beginner remote workers can build a complete, highly functional home office by following a 5-step roadmap: selecting a quiet 30 sq ft space, investing in an adjustable mesh chair, elevating screens to eye level, streamlining single-cable docking, and organizing power cords with under-desk raceways.
The Beginner’s Home Office Implementation Roadmap
Setting up your first remote home office can feel overwhelming. With thousands of computer monitors, ergonomic chairs, motorized desks, and productivity gadgets advertised online, beginners frequently suffer from choice paralysis—or waste money buying decorative accessories while ignoring critical ergonomic foundation pieces.
Building a durable, comfortable workspace does not require an engineering degree or a massive budget. By following a structured, step-by-step setup plan, beginners can create a professional home office that protects physical health and boosts workday focus. Below is the ultimate 5-step beginner guide.
Beginner Setup Priority & Hardware Roadmap
Implementation Step
Primary Hardware Focus
Recommended Beginner Model
Key Ergonomic Objective
Step 1: Space & Layout
Dedicated 30 sq ft floor zone
Desk perpendicular to natural window light
Eliminates glare & establishes work boundaries
Step 2: Task Seating
Adjustable Mesh Task Chair
SIHOO M18 / Hbada Ergonomic Chair
Supports 90° hip alignment & lumbar spine curve
Step 3: Work Surface
Sturdy steel frame desk
Cubiker 47″ / FlexiSpot Electric Desk
Provides stable, wobble-free working area
Step 4: Display & Riser
24″ 1080p IPS Monitor + Arm
ASUS VA24EHE + North Bayou Gas Arm
Raises top third of screen to exact eye level
Step 5: Peripherals & Wire
Wireless Input + Cable Tray
Logitech MK270 Combo + J-Channel Tray
Eliminates wrist strain & conceals wire clutter
Step 1: Space Selection and Environmental Placement
Before buying any office hardware, choose and measure your physical workspace zone carefully:
* Measure Floor Square Footage: Allocate a floor area of at least 5 feet by 6 feet (30 square feet) to allow full chair rolling radius and standing room clearance.
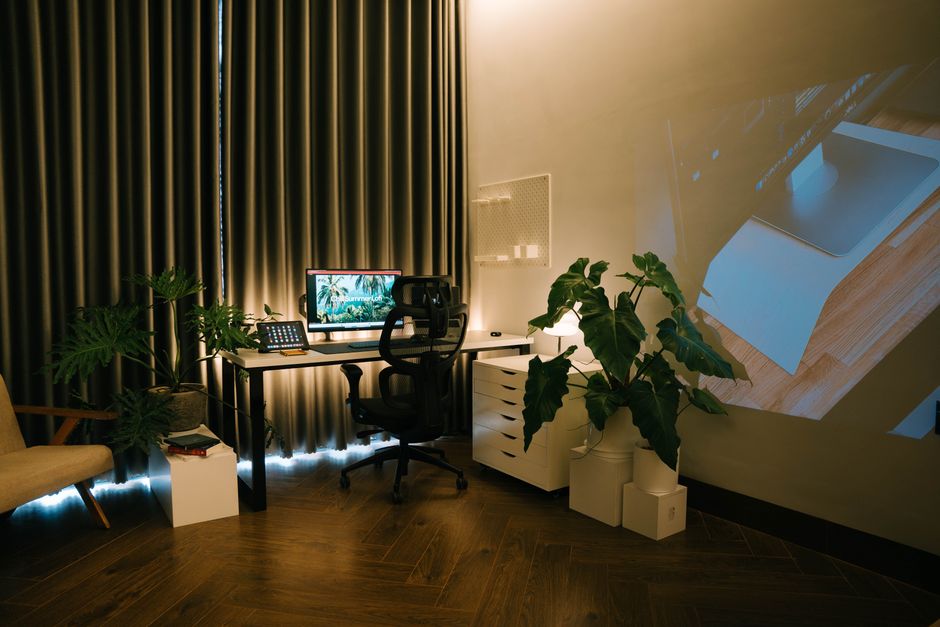
* Window Alignment: Position your desk perpendicular to natural window light. Placing a desk directly in front of a window causes blinding glare, while sitting with your back to a window creates harsh shadows on video calls.
* Electrical Access: Ensure your desk zone has direct access to a grounded 120V wall outlet capable of driving a surge protector.
Step 2: Choosing Ergonomic Seating and Desk Surfaces
Your chair and desk form the physical baseline of your daily posture:
Selecting a Beginner Task Chair
Avoid cheap unadjustable dining chairs. Look for an adjustable mesh task chair—such as the SIHOO M18 or Hbada Ergonomic Chair ($130–$160). Ensure the chair offers height adjustment, active lumbar support, and adjustable armrests so your forearms rest parallel to the desk surface.
Selecting a Workstation Desk
Select a sturdy 47-inch to 55-inch writing desk featuring heavy steel legs and a laminate desktop (such as the Cubiker Computer Desk or FlexiSpot EF1 Electric Standing Desk). Ensure the desktop surface provides at least 24 inches of depth to maintain proper viewing distance from your display.
Step 3: Screen Elevation and Display Architecture
Working directly on a low laptop screen causes severe forward neck flexion (“Tech Neck”). Transition to a proper screen setup:
* External IPS Monitor: Connect a 24-inch or 27-inch 1080p IPS display (such as the ASUS VA24EHE). IPS screen panels provide wide viewing angles and flicker-free eye care filtering.
* Gas-Spring Monitor Arm: Clamp a gas-spring monitor arm (like the North Bayou F80) to the back of your desk. Adjust screen height so the top third of the display glass sits at exact eye level, located 20 to 30 inches from your face.
Step 4: Ergonomic Input Peripherals and Single-Cable Connectivity
Place your laptop on an aluminum riser stand to use as a second screen. Connect an external wireless keyboard and vertical ergonomic mouse (like the Logitech MK270 combo or Anker Vertical Mouse) placed flat on your desk surface, keeping your wrists straight while typing.
Step 5: Lighting, Cable Management, and Noise Control
Complete your starter home office by organizing environmental controls:
* Asymmetric Task Light Bar: Clamp a Quntis LED Monitor Light Bar atop your monitor to illuminate your desk without reflecting off the screen glass.
* Under-Desk Cable Tray: Mount an adhesive J-channel wire raceway beneath your desktop, tucking away power strips and charging blocks to maintain a clean floor.
Establishing a Personal Home Office Maintenance Schedule
To keep your home office setup clean and functionally reliable, perform brief routine maintenance checks:
* Weekly Desktop Surface Reset: Wipe down your desk surface, keyboard keys, and mouse sensors with a microfiber cloth and 70% isopropyl alcohol to eliminate dust and skin oils.
* Monthly Cable & Screw Inspection: Check that monitor arm desk clamps, standing desk frame bolts, and chair casters remain tight and securely fastened, adjusting cable routing straps as new gear is added.
Evaluating Ergonomic Accessories: Wrist Rests and Desk Mats
Complete your beginner home office by adding high-impact micro-accessories: place a $15 felt or PU leather full-desk mouse pad desk mat across your work surface to dampen typing noise and protect the desk finish.
Add a firm memory foam wrist rest for your keyboard to maintain a neutral, straight wrist angle while typing, preventing median nerve compression during long writing sessions.
Frequently Asked Questions
How much should a beginner spend on a complete first home office setup?
A high-quality, complete starter home office setup costs between $450 and $700 total: $140 for an ergonomic mesh chair, $120 for a sturdy desk, $130 for a 24-inch IPS monitor, $50 for input peripherals/stand, and $40 for task lighting and cable trays.
Should a beginner buy an electric standing desk right away?
While motorized sit-stand desks are beneficial, they are not mandatory for beginners on tight budgets. A sturdy $110 fixed writing desk paired with a $30 manual laptop riser or desktop standing converter allows you to test standing work habits before investing in motorized frames. If you do want to make the jump, our Uplift V2 standing desk review covers what the upgrade actually feels like in daily use.
What is the most common mistake beginners make when setting up a home office?
The most common beginner mistake is typing directly on a laptop keyboard while the laptop rests flat on a desk, causing severe neck strain and wrist extension. Buying an inexpensive external keyboard and mouse allows you to elevate the screen properly.
Do I need a dedicated room for a home office, or is a bedroom corner okay?
A dedicated room is ideal for noise isolation, but a bedroom corner or living room alcove works perfectly if you establish clear visual boundaries, use cable management trays, and implement a consistent end-of-day workday shutdown routine.